Yesterday, I talked about how to photograph your own artwork with a digital SLR camera. Today, I want to give you a quick run down on how I initially edit the photographs of my artwork after I get them on my computer’s hard drive.
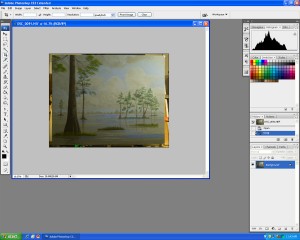
The first thing I need to do is get the file open into photoshop for editing. You’ll notice the distracting background around the image that includes the studio in which the artwork was photographed. I don’t mind this type of shot because it gives me room to do the next step which is cropping the image.
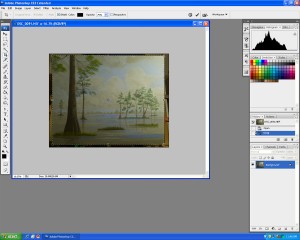
Once I have the image open, I need to crop the image so that none of the edge of the canvas is visible. This is accomplished with the crop tool in the tool bar. Once selected, the crop tool has little square handles on each side of the image that allows for adjusting the cropping in or out as needed.
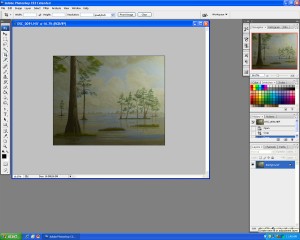
When I am satisfied with the location of the crop, pressing enter will remove all the extraneous information from the image. Now take a look at the image, paying particular attention to the histogram in the upper right corner of the screen. If the histogram is not visible, click the histogram tab to bring it forward. The graph shows that most of the information for this image is in the center of the graph. I intentionally used this image, although the exposure was too low. This gives me room to make adjustments on the image for the purposes of this tutorial.
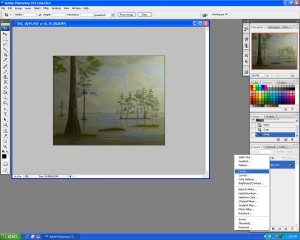
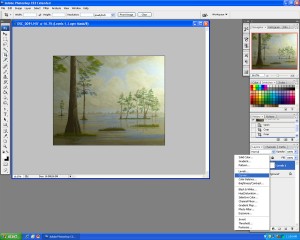
Now that I have the image cropped properly, it’s time to begin working with the Levels tool that will allow me to brighten up the image to the level I want it. I could use the Brightness and Contrast tool, but the Levels tool gives me more control over the image. I want to add an adjustment layer now so I can make adustments later if I need to. I now click the Add Adjustments Layer button which is the button that is half white and half black at the bottom of the Layers tab. Clicking this button brings up the adjustments menu.
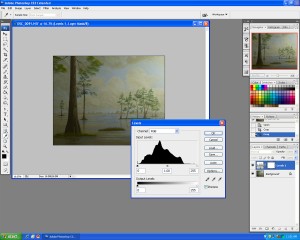
The Levels adjustment dialog consists of a Channel section, an Input Levels section, and an Output Levels section. In the bottom right field of the Input Levels section is the number 255 with a slider just below it. This field indicates the white levels in the image.
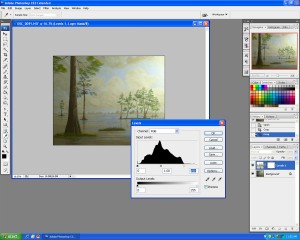
The simplest way to brighten this image is to left-click on the slider under the white field and drag it to the left until the slider is just to the right of the point on the histogram where the graph starts to climb.
As I drag the slider to the left, the image begins to brighten up. If I go too far to the left, the highlights in the image will be destroyed, so I only want to go just to the right edge of the histogram. Now that the image is brighter, I notice that the midtone values are not quite bright enough. The way I handle this situation is with the Curves Adjustment Layer.
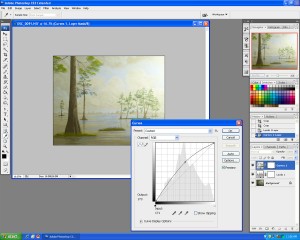
By clicking the black and white circle at the bottom of the layers tab, I can access the Curves Adjustment Layer tool.
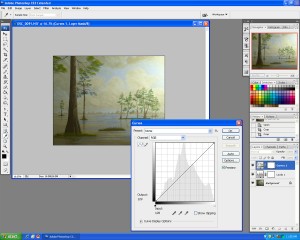
Now I have the Curves Adjustment Layer dialog on the screen. With this tool, I can adjust the midtone brightness without affecting the other levels in the image. I you look at the histogram for the image in the Curves dialog, you’ll notice it is pretty much centered now that I have adjusted the Levels. I place the cursor over the center part of the graph on the diagonal line, left-click and drag the center portion of the line straight up. This immediately lightens up the midtone values in the image.
This brings the image to the point where I’m satisfied with the levels for now. This painting is supposed to represent a darker cloud covered day, so I don’t want to brighten it up too much. There are hundreds of other tools in Photoshop for adjusting photographs, but I won’t go into them here. I just wanted to show you two simple tools for adjusting photographs of your artwork.
Later on, I’ll do more Photoshop posts so keep checking back. Until next time, keep your brushes clean, your colors pure, and as always, thanks for stopping by.



found your site on del.icio.us today and really liked it.. i bookmarked it and will be back to check it out some more later
This blog is very well written, keep up the good work!